
Sometimes an item belongs in a playlist only for a while, like a weekend offer in the "Café specials" playlist. Item dates let you set that on the playlist itself, without changing the media item everywhere else. In this article you'll set them.
You'll need: the editor, admin or owner role.
Set dates for an item
- Open the playlist from Playlists.
- On the item's row, select the calendar button. It says Any time until you set dates.
- Fill in Show from, Show until, or both.
- Select Save playlist.
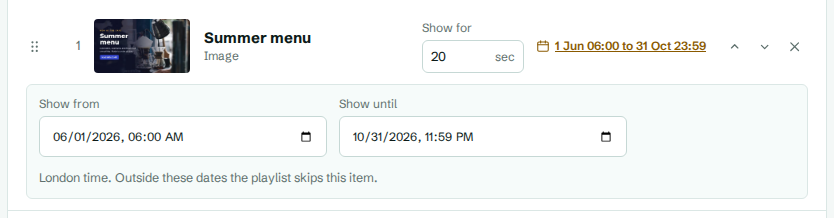
The button now shows the dates, for example 3 Oct 09:00 to 5 Oct 23:00, From 3 Oct 09:00 or Until 5 Oct 23:00. Select it again to hide the date fields.
How item dates work
- Dates are in your organization's timezone, shown under the fields (for example "London time").
- Outside its dates, the playlist skips the item and moves to the next one.
- Screens check the dates themselves, so it works even when a screen is offline.
- If every item is outside its dates, the playlist shows nothing until one is back in range. Keep at least one item without dates.
Item dates or media dates?
| Use | When |
|---|---|
| Dates on the playlist item | The item should only show in this playlist for a while. |
| Show from and Show until on the media item | The item should stop everywhere it's used. See Set show dates and tags. |
| A schedule | Different content at certain times of day or days of the week. See Create a schedule. |
If both the item and the media have dates, the item plays only when both allow it.
Remove the dates
Open the date fields, clear both boxes, and select Save playlist. The button goes back to Any time.